
Creating a Receipt of goods (RG) is possible by using the Create new button or the ![]() icon.
icon.
 |
|
When creating a new RGs by using the Create new button or icon, the RG’s detail form is brought up in a new tab where the following information can be specified:
- Order code: A unique RG code is generated upon saving the RG.
- Status: The status of an RG. The status is New by default.
- Vendor: Specifies the vendor of the RG responsible for sending the shipment. The vendor can be selected from a predefined vendor list.
- Receipt date: Specifies the date of the RG (the current date).
- Notes: Any notes may be added to an RG.
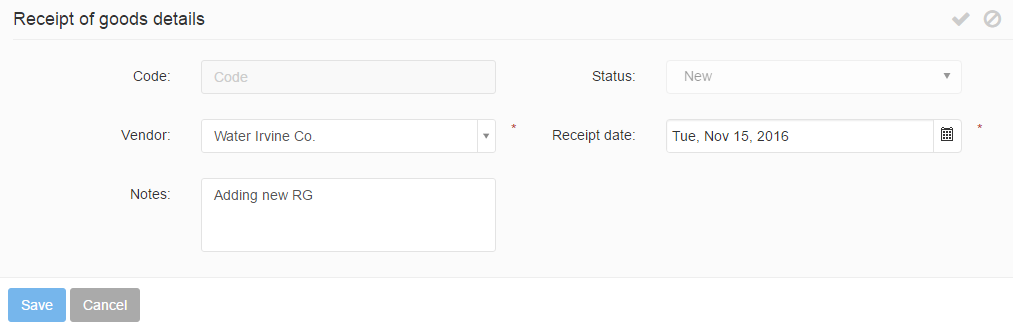
Main info section
After filling in the mandatory fields of the RG details section and saving them, items may be added to the RG.
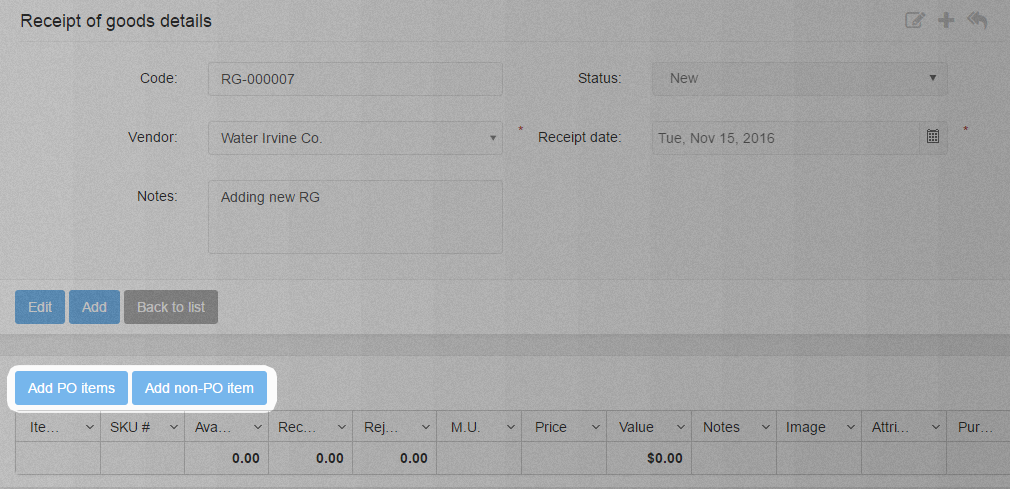
Adding RG items
It is also possible to add items that are on POs assigned to the selected vendor. When adding PO items, the PO must be specified first. The PO items can then be added to the RG by using the Add PO items button, selecting a purchase order from the POs’ list (those POs will be displayed which belong to the RG’s vendor) and checking the received items’ check-boxes and then using the Add button.
The received and rejected quantity of the PO items can be specified in the PO item grid.
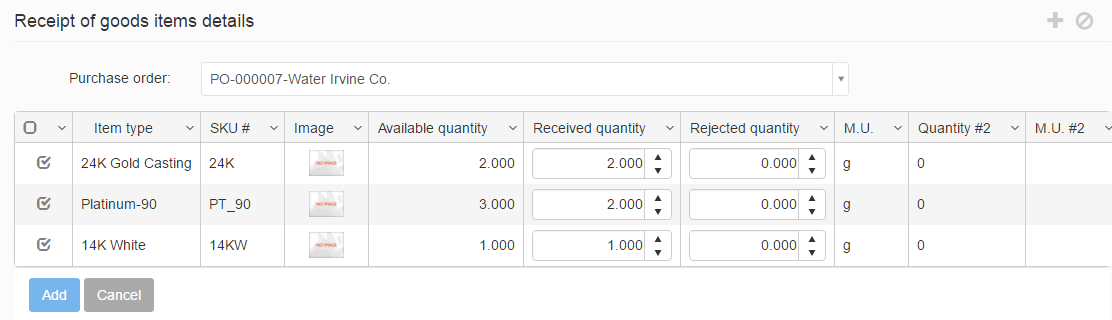
Adding PO items
Non-PO items – items which are not added to any Purchase orders – may be added to an RG using the Add non-PO item button.
- Select group: Specifies the received item’s item group.
- Item type: Specifies the received item’s item type, based on the selected item group. Specifying the item type first automatically fills in the item group field.
- Received quantity: Specified the item quantity that is received on the RG. The measurement unit is specified on the item type’s detail page.
- Quantity 2: Specifies the item’s secondary quantity, if any.
- Price: Specifies the item’s price per unit. By default, this value is pulled from the item type detail page, however it can be modified.
- Total value: The item’ total value, calculated automatically by multiplying the unit price with the received quantity.
- Notes: Any notes may be added to the RG item.
- Image: Item images may be uploaded using the
 button, or images can be captured using the
  icon. Uploaded images can be deleted using the Remove link.
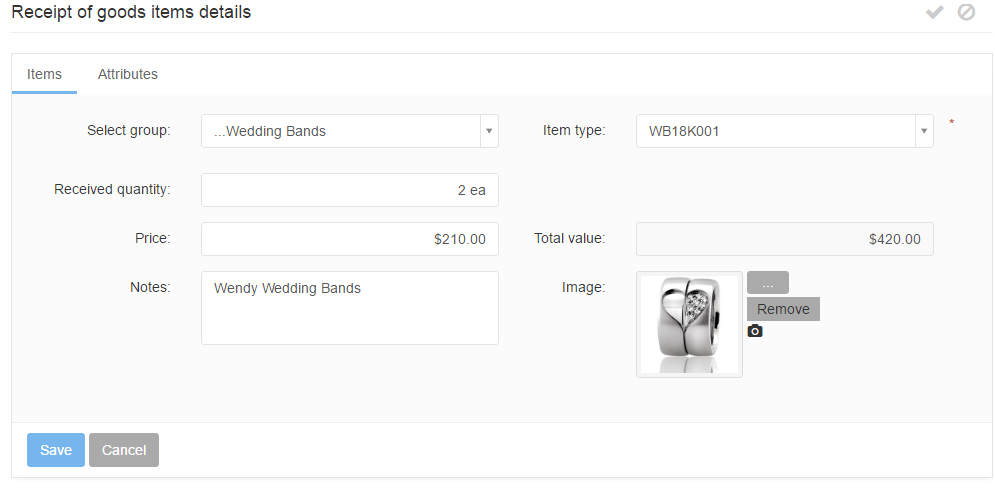
Adding non-PO items
If the non-PO RG item belongs to an item group assigned with a custom attribute list, an additional Attributes tab becomes available.
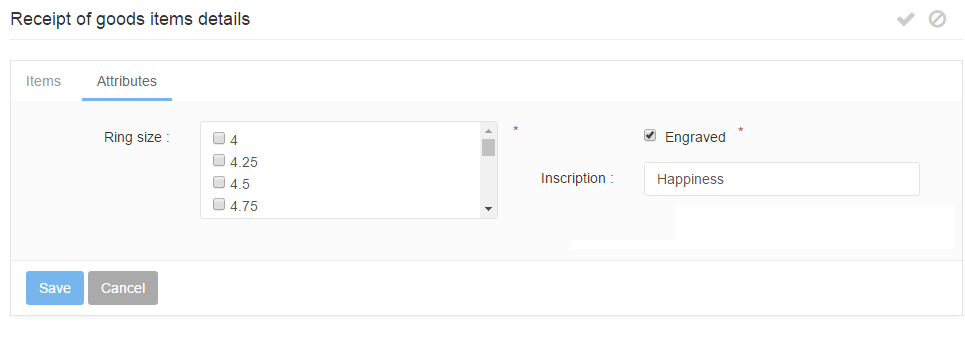
Adding non-PO items