New item types can be added using the Create new buttons located on the top-right and bottom-left corners of the grid. Existing item types can be edited by clicking on the item type’s name from the grid or by using the pencil button located in the last column of the grid. Using either the Create new or Edit actions will bring up the Item type details form where the item type information can be specified.The layout of this form, including the available options and tabs, vary depending on the item type’s Item group settings.

Create new / Edit actions
The Item type details form is made up of multiple section and tabs. The Main info section lets you specify the item type’s primary information. The Subitems section lets you manage the components (subitems) that make up the item type. The Selected item section is made up of multiple tabs where the item type’s more advanced information and settings can be specified. Below you will find a description of the Main info section, while the other sections are described in their own separate articles.
Main info
The Main info section you lets you specify and review the item type’s primary information.
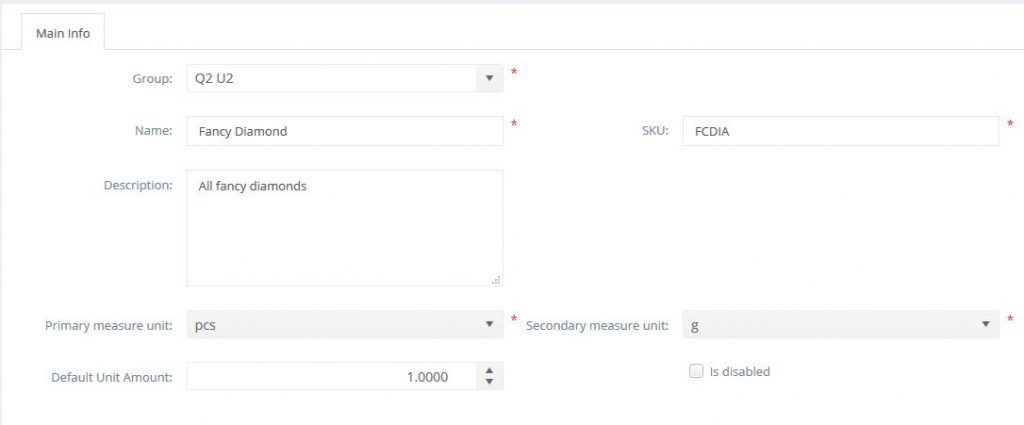
Main info section
The following info can be specified:
- Group: specified the item group to which the item type belongs. The item group’s settings will be inherited by the item type. Additionally, the attribute list attached to the item group (from the Main info section of the Item group details form) will be inherited by all the item types that belong to it.
- Name: specifies the name of the item type.
- SKU: specifies the unique code used to identify the item type in PIRO Fusion.
- Description: any description can be added to the item type via this text field. The description can be used internally by PIRO Fusion users, and also on reports sent out to customers.
- Description 2: an additional description can also assigned to the item type. This field is only visible if the item type’s item group has the Item types have description 2 option enabled via the Item types settings section of the Item group detail form.
- Primary measure unit: specifies the measurement unit used to primarily quantify the item type. Only those measurement unit types are available that belong to the measurement unit group selected on the Main info section of the Item group details. Furthermore, the default value from this field is determined by the default measurement unit selected on the Item group details form.
- Secondary measure unit: specifies the measurement unit used to quantify the item type’s secondary quantity. This field is only visible if the item type’s item group has the Item types have secondary M.U. setting enabled on the Main info section of the Item group details form. Only those measurement unit types are available that belong to the secondary measurement unit group specified on the Item group details form.
- Default unit amount: specifies the item type’s default unit amount which is multiplied with the item type’s primary quantity when the item type is placed on various order to determine its total quantity. This information is mainly used for metal items to store the default weight of one piece (or unit) of a particular metal. This field is only visible if the item type’s item group has the Item types have unit amount option enabled on the Item type settings section of the Item group details form.
- Is disabled: if checked, the item type becomes inactive and it will not be shown on the item type list on the Item types form by default, nor can it be used on any type of orders. Inactive items aren’t deleted from PIRO Fusion and can be made active at any time by disabling the option.
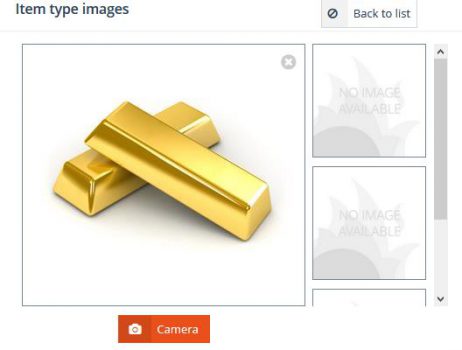
Item type images
The Item type images section is located on the right-side of the Main info section and lets you assign up to 4 images to the item types.
Click on any of the image-cells to upload an image to the item type. The default image is represented by the large image cell and will be displayed as a thumbnail in the Image column of the Item types grid. The Camera button can be used to bring up the Image capture tool that lets you take snapshots with the camera attached to your computer and assign them to the item type.